Uploading and managing your images Dashboard v2
This page is about the Micrio dashboard version 2, which is outdated. Use the link below to navigate to the latest version.
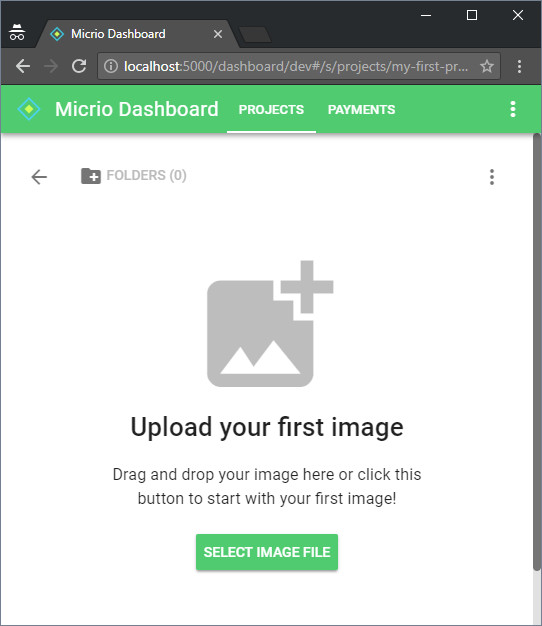
Once you've logged into the dashboard and created a new project, you can start uploading your images. Simply drag and drop images from your computer to the browser, or use the bottom-right button to select a file on your computer to upload.

You can upload JPG, PNG, and TIFF files in the dashboard.
TIP
For more information on what kind of files and formats are best for Micrio, see this page.
For Enterprise accounts, more images types with much higher possible resolutions such as RAW, PSD and PSB are also supported. Contact us for more information.
Once an image has been selected, it can take some time to process it for best client delivery. Depending on your image size, this can take from 10 seconds (16MP) to a few minutes (>1GP).
There is not perfect aspect ratio for Micrio, it’s up to you! If you expect a lot of mobile or portrait visitors, optimise your image for that. In most cases an aspect ratio of 16:9 is fine. There are also a lot of settings in the Micrio editor, for example “Always fill screen”, which makes sure your visitors don’t see borders around the image if their device does not 1:1 match your image.
Image operations
Once an image has been processed correctly, it will appear in the dashboard in the list of images. You will see a small thumbnail, the image title, when it was uploaded, the image resolution, and the used storage size.
Note: The storage size in Micrio can be different from the original image you uploaded. This is due to serverside reprocessing of your original image into tiles-- which can be JPG or PNG. This can either reduce the original image size when you've uploaded a TIFF, PSB or RAW file, or can slightly increase the size when you've uploaded a JPG or PNG file.
When you click on the three dotted button on the right side of the image entry, you will see a few options:
- Set private: This means the image will not be publicly available, and the image link will only be accessible to yourself, and any other users in your Micrio user group. Embedding this image in your own website does not work if the image is set to private.
- Rename: Rename the image.
- Move: Move the image to another folder inside your current project.
- Clone: If you want to duplicate the image, for instance for creating different content in, you can clone the image. This keeps the original tiles of the image, but gives you another image to create content in. So this does not use any extra storage space in your account!
TIP
If you want to replace an image with a newer version, see this question in our FAQ
Editing your image
Now that you've succesfully uploaded your image, you can now continue to the next step!