
Virtual 360° images and tours
INFO
This feature is available for Premium subscription accounts and up.
360° pictures are uploaded the same way as regular images in Micrio. That means they can be any of the accepted file types that you can use for 2D images, it being for instance JPEG, PNG, TIFF.
Preparing for content production
Equirectangular aspect ratio
Micrio requires 360° images to be in Equirectangular format: that means that the aspect ratio should be 2:1: for instance 10,000 x 5,000px.
This ensures that the 360 image can be drawn without missing parts on the top or bottom of the image.
Creating 360° content
There are a several ways to create your own 360° photos, ranging from making them using your smartphone, to using a professional DSLR camera, resulting in ultra resolution highly detailed and zoomable photos.
We can recommend this excellent article by B&H Photo and Video for a comprehensive guide to all possibilities.
If you plan on linking multiple 360 to each other, try to take all your photos with the same orientation. If the center of each 360 image is facing in the same direction, Micrio will correctly map the images based on where you place the marker linking to another image, meaning the camera won’t jump to a different orientation when your visitors are navigating through the images.
About image orientation
When producing the 360° content, try to take each photo at exactly the same orientation!
When all 360° photos are taken at the same orientation (ie. the absolute north at its center), navigating between connected photos will feel natural for the user.
It doesn't matter if the center of a 360 photo will be an empty wall for instance, since the user will arrive in the image from the direction from which they came, meaning the 360° photo will not open centered on this wall.
When photos are taken at different orientations however, you can still rotate them over the Y-axis in the Micrio virtual tour editor:
Creating a virtual 360° tour
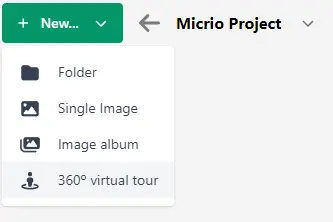
To upload 360° images, you need to create a "360° virtual tour" within a Micrio project:
Then, select "Add" -> "360° image(s)" from the menu at the top:
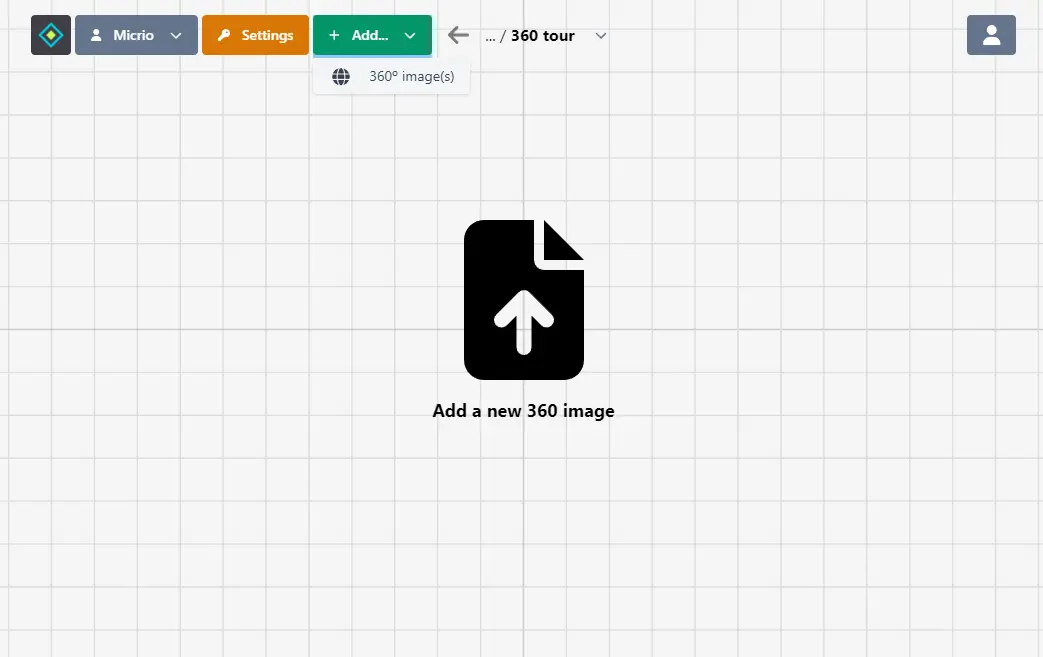
Select your 360-images, and upload them. Alternatively, you can use the Micrio Uploader App.
When your first images have been added, it will look a bit like this:
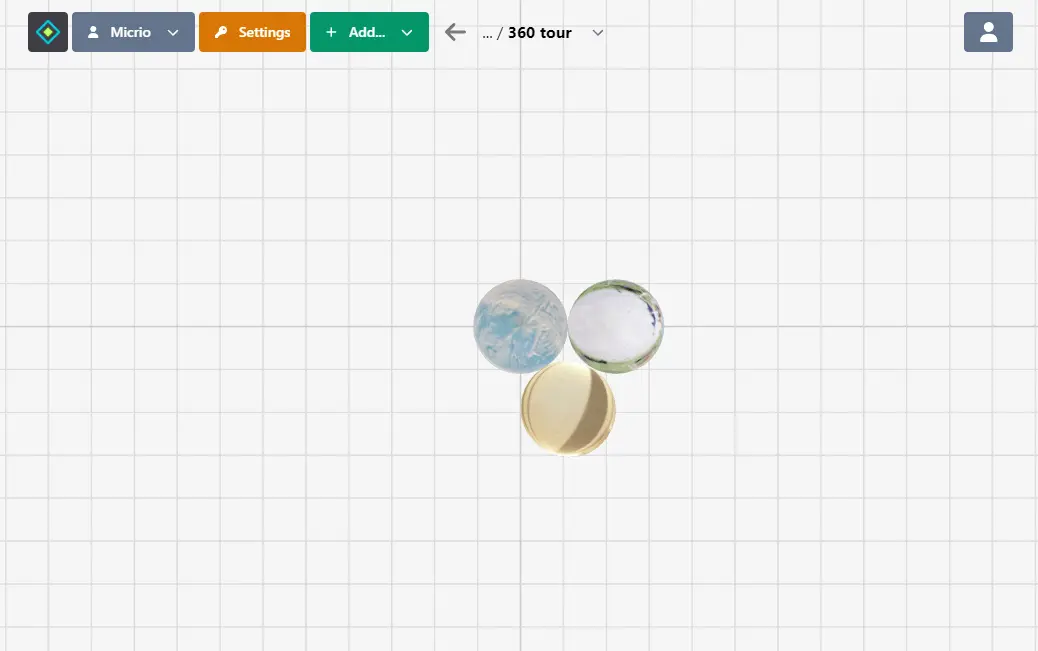
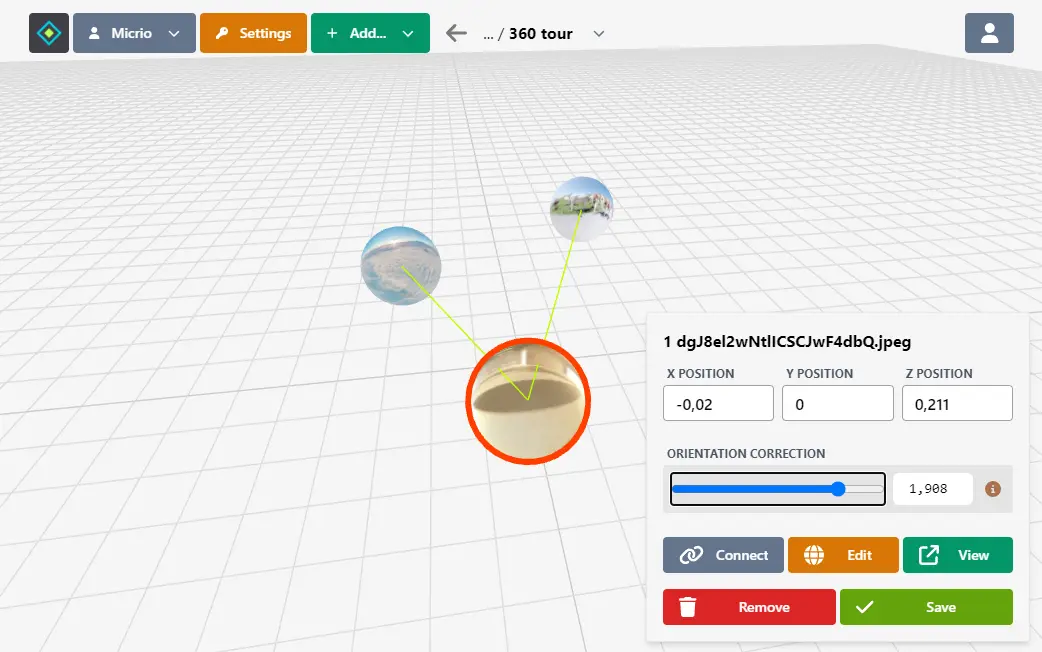
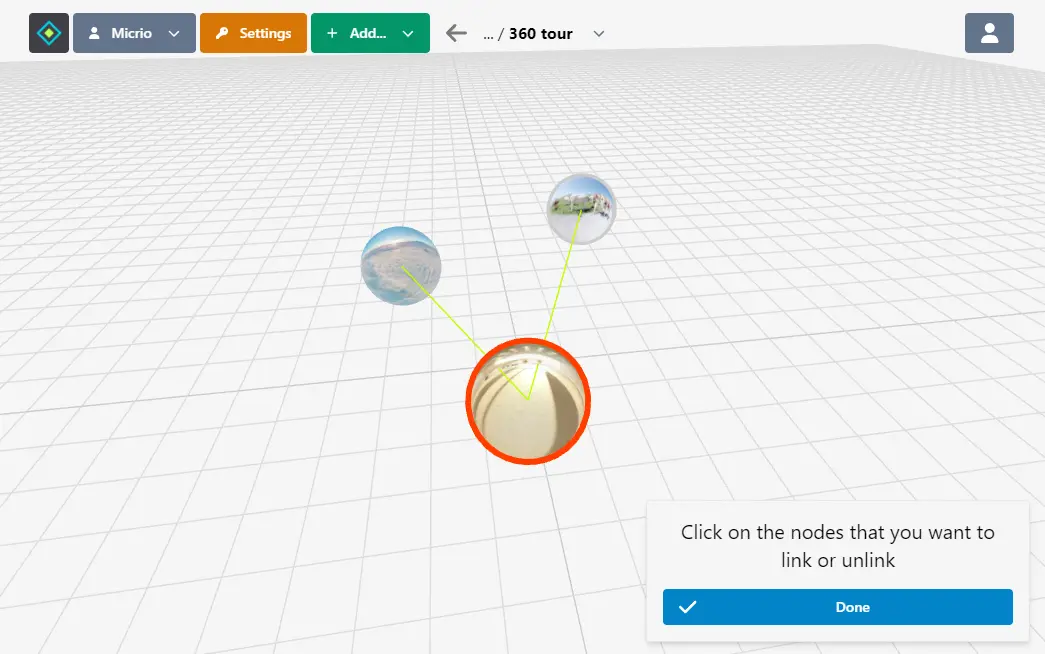
The virtual tour editor is actually a spatial 3D editor, allowing you to place, move, and connect individual 360° pictures together.
By doing that, Micrio will automatically create connections between the images, by placing virtual waypoints in all correct directions you have placed the images at.
This means, that it's a good idea to place the 360 images in the 3D space, based on the physical positions that the photos were taken.
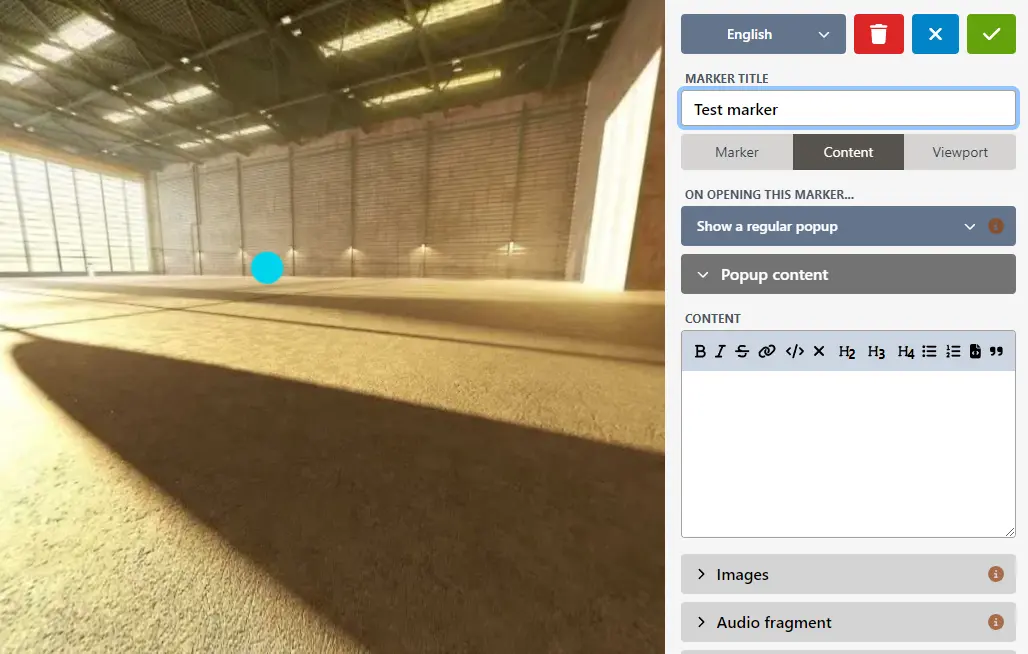
Opening the individual image editor
By selecting a 360° image, you will be able to place it within the total tour 3D space. However, to add individual markers or tours, press the "Edit" button to enter the regular Micrio editor for that image.
From this editor, you can also adjust the auto-placed waypoints that connects different 360° images. When you have connected images to eachother, you will see these auto-placed waypoints when opening the image editor.
If you click on one, you can freely place, manipulate and rotate the waypoint. You can also use a different icon for the waypoint.