
360° object settings Enterprise
INFO
These settings only apply for 360° objects, available for Enterprise subscriptions
If your current opened image is a 360° object, and you are using markers to enrich them, it's important to synchronize the Micrio viewer with the original photography setup.
This is required for a few reasons:
- The Micrio 360° viewer is a "dumb" viewer, that only displays the angled photographs based on the viewer's rotation. It has no idea what the object actually is.
- Therefore, using these settings, you can make a virtual approximation of the camera's original distance, field of view, and angles at which the object was photographed.
This makes sure that when the user rotates the object, that the markers are correctly rendered in pseudo 3D-space, and that they don't "drift" from the original object.
TIP
Using this is only required if you plan on adding markers or tours to your 360 object. It will not effect any of Micrio's rotation controls or output.
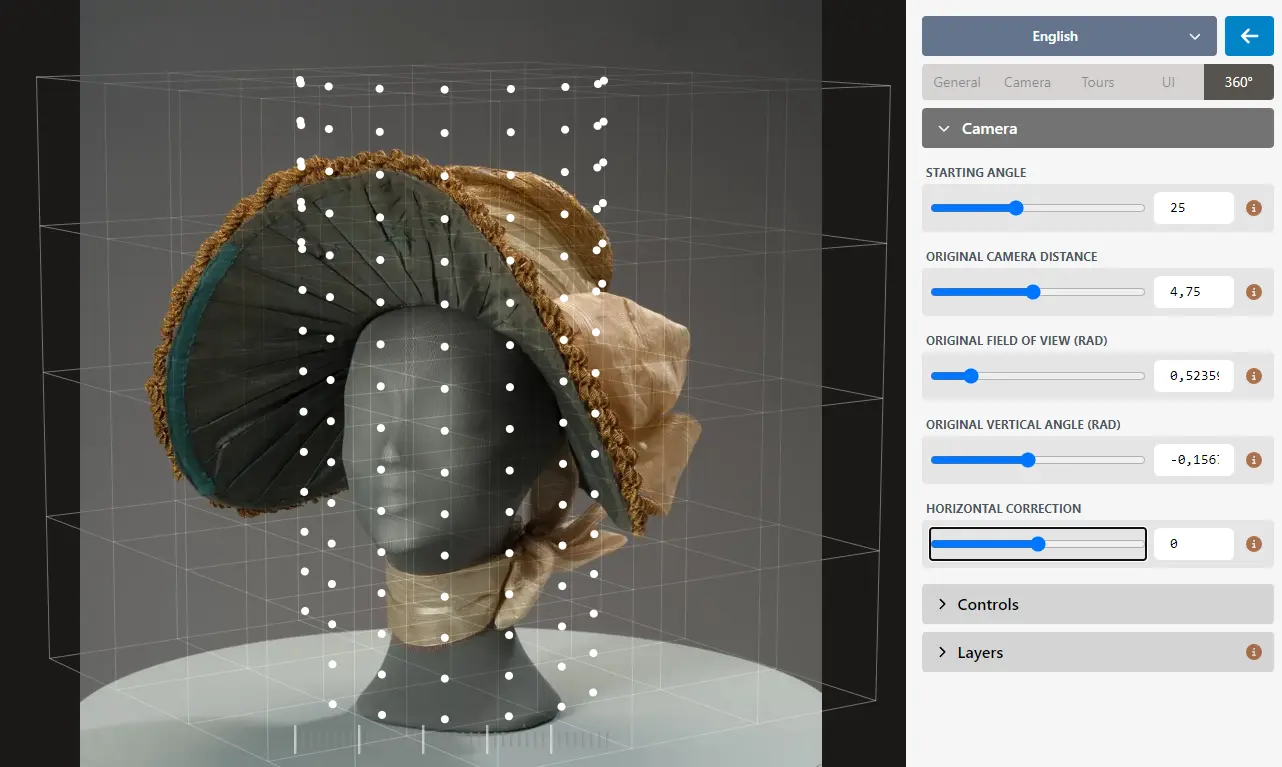
Camera adjustments
This section allows you to make Micrio's internal camera settings match those of the original photographed setup.
The 3D grid shown over the image itself responds in real time to each setting made here.
TIP
The rule of thumb for this is: tweak a setting until it looks good, focus on a single white dot in the 3d grid, and rotate the object to see if it "sticks" to the object correctly.
Since each individual setting influences the total 3D model, it's possible you need to keep fine-tuning different sliders to get a perfect fit!
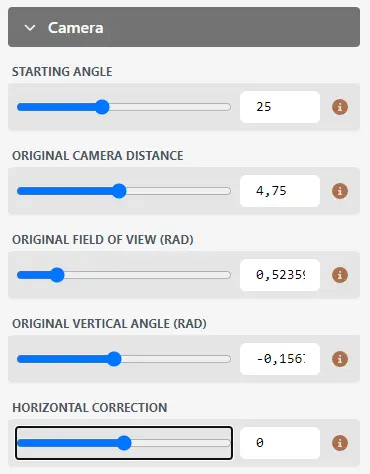
Starting angle
This option allows you to set the starting angle (or frame) of this object. If the uploaded sequence of the object for instance started with the back view, you can adjust that here.
TIP
The selected starting angle will be used for all preview thumbnails, and the opening view of the Micrio Viewer.
Original camera distance
By changing this value, you can tweak the original distance between the object and the camera. When adjust things, you will see the 3D grid in the image get closer or further away.
Try to set this so that the top and bottom of the grid roughly corresponds with the top and bottom of the object itself.
Original field of view
Use this setting to adjust the Field of View, to correspond to the viewing angle of the original camera lens. This value is in radians. The larger you make it, the more perspective will be shown in the 3D grid.
For wide-angle lenses, this will be a higher value, for narrow angle lenses, this will be lower.
Original vertical angle
Using this setting, you can set the vertical angle at which the photographs were taken in relation to the object, in radians. If the object was photographed slightly from above, for instance, you can slide it to a negative value. If the object was photographed from below, you can slide it to a positive value.
Horizontal correction
Sometimes, the physical center of the object which it rotates around is not the perfect horizontal center of the image. Use this setting to adjust this.
UI Controls
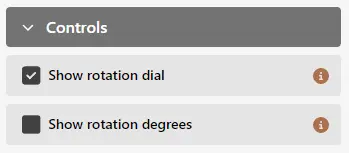
In this section you can specify which 360°-object specific UI controls are shown in the Micrio Viewer:
Show rotation dial
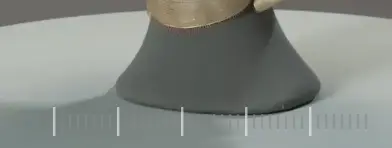
When turned on, an interactive rotation dial will be shown at the bottom of the image, using which the user can rotate the object, independent of current zooming state.
Show rotation degrees

When the above setting is selected, this option will also print the current rotation in degrees of the object on top of the rotation dial.
Layers Advanced

If you want to present the same object with different configurations (for instance, a fashion item such as a bag, where for one configuration the bag is closed, and the next, it is open), it is possible to upload these to Micrio as a single image sequence.
Example
If you take one photo every 5 degrees, so 72 photos per rotation, an object which has 2 configurations would have 72 * 2 = 144 images.
Micrio accepts this as a single 360° upload, but by default treats it as a single 360° rotation, so it will look weird.
Using this setting, you can specify how many configurations (or layers) this object has.
In the above example, we can set this to 2.
Each individual layer can also optionally be named.
Viewer output
The Micrio Viewer correctly interprets this, and will display a layer switcher in the top menu:
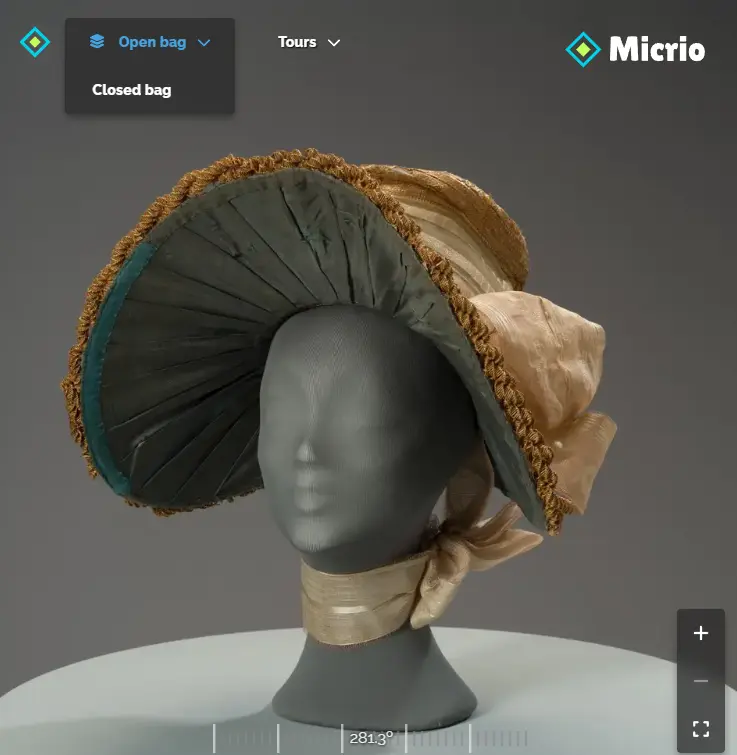
The user can then easily switch between layers, happening real-time, without having to load a separate instance of the 360° object! Also, all markers will stay available at the correct place.