
Setting up Google
In order to get your own Google Storage account working with Micrio, follow these steps:
Create your Micrio storage bucket in the Google Cloud Console. Make sure this bucket will only be used by Micrio, and doesn't contain any other unrelated data.
Set the bucket to be publicly readable, meaning users can access the data from their browser. Using the gsutil command line tool, you can do this:
shgsutil defacl ch -u AllUsers:R gs://[your-bucket-name]Next, allow XHR Cross-Origin requests to this bucket. This allows users to directly upload data from the Micrio dashboard, and let the Micrio client viewer optimally download the image tiles.
First, create a file called
cors.json:json[ { "maxAgeSeconds": 3600, "method": ["GET", "HEAD", "PUT", "POST", "OPTIONS"], "origin": ["*"], "responseHeader": ["Content-Type", "x-ms-blob-type"] } ]And then set the CORS using the following
gsutilcommand:shgsutil cors set cors.json gs://[your-bucket-name]Next, in the Cloud Console dashboard, create a Service Account, which has full read and write access to the bucket. This Service Account will be used by Micrio only, and has to be kept private at all times.
Go to IAM & Admin > Service Accounts, and select Create Service Account.
Give it a name and description, and keep step 2 ("Grant this service account access to project") empty for now. In step 3, add optional additional Google Cloud users access to the Service Account.
Now we're going to need the JSON Key to this Service Account, which will be given to Micrio.
In your newly created Service Account, go to the Keys tab, and click Create new key. When asked about key type, select JSON:
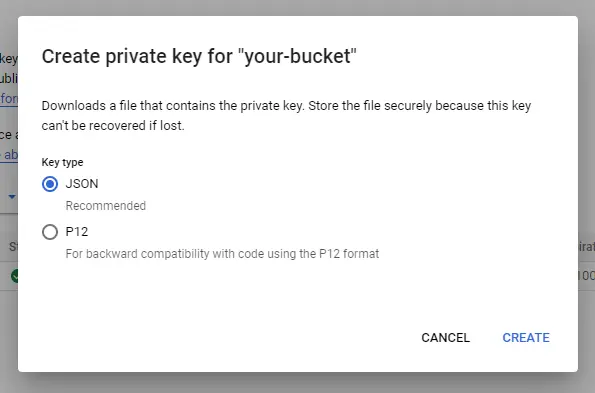
Click Create to be offered a JSON file download. This can only be done once, so save the file in a secure location (or password manager suite).
Next, allow the newly created Service Account to have read/write control of the storage bucket. In the Cloud Console, open Cloud Storage > Browser, and open the context menu on the far right of the bucket for use with Micrio. There, select Edit bucket permissions, and there click Add member.
In the new panel, search for your newly created Service Account, and select it. Then, under Select a role, search for Storage object admin:
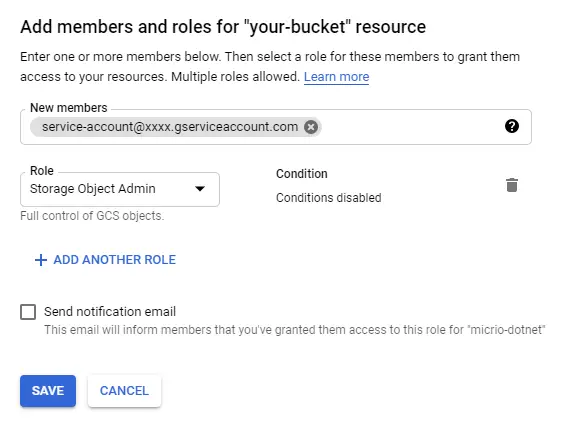
Don't enter any conditions. Press Save.
Everything is correctly set in place, congrats! Next step is to contact us, so we can link your storage key to your Micrio account. From then on, all Micrio uploads, assets and data will be fully stored on your storage bucket, independently.
Optional: create a Google Cloud CDN in front of your bucket, to ensure global fast delivery of your imagery. Open Network Services > Cloud CDN, and set it up from there.