
Image embeds
The latest version of Micrio allows you to place in-image embeds in your image. This means that you can add additional content such as images or video inside your image, as if they are a part of the original image.
This is great for using dynamically placed content such as overlays, or making your image come to life by embedding in-image videos.
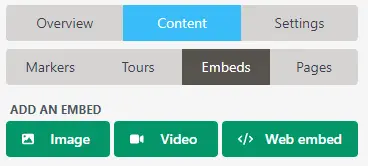
There are 3 possible types of embeds:
Image embeds
Click the "Image" button in the side panel to select an image to embed. Once placed, you will see it in your main image with a blue border. You can freely resize and move the embedded image.
Click actions
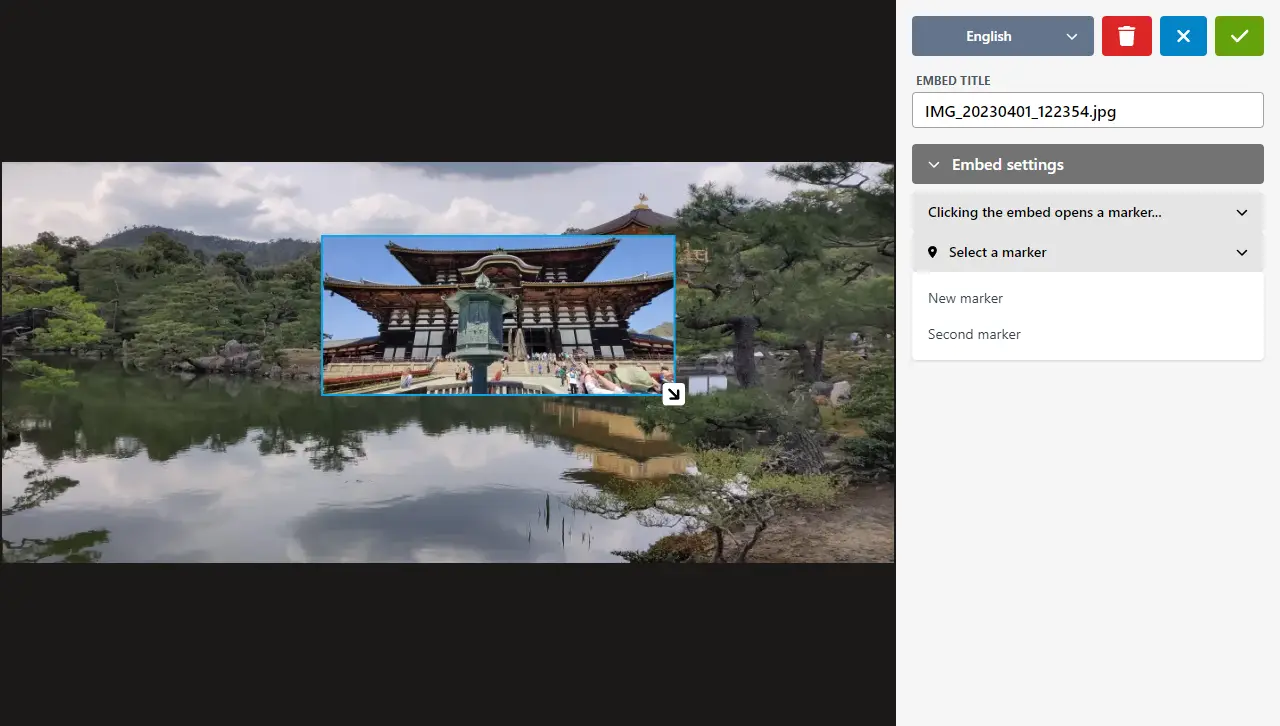
Under the Embed Settings panel, you can specify what happens if the user clicks on this in-image embed:
- User cannot click the embed (default): Nothing happens if the image is clicked
- Clicking the embed opens a link...: You can set a URL that will be opened when the user clicks the image
- Clicking the embed opens a marker...: You can connect this image embed to an existing marker inside this image, so the embed will basically act like it's the market itself.
Web Embeds
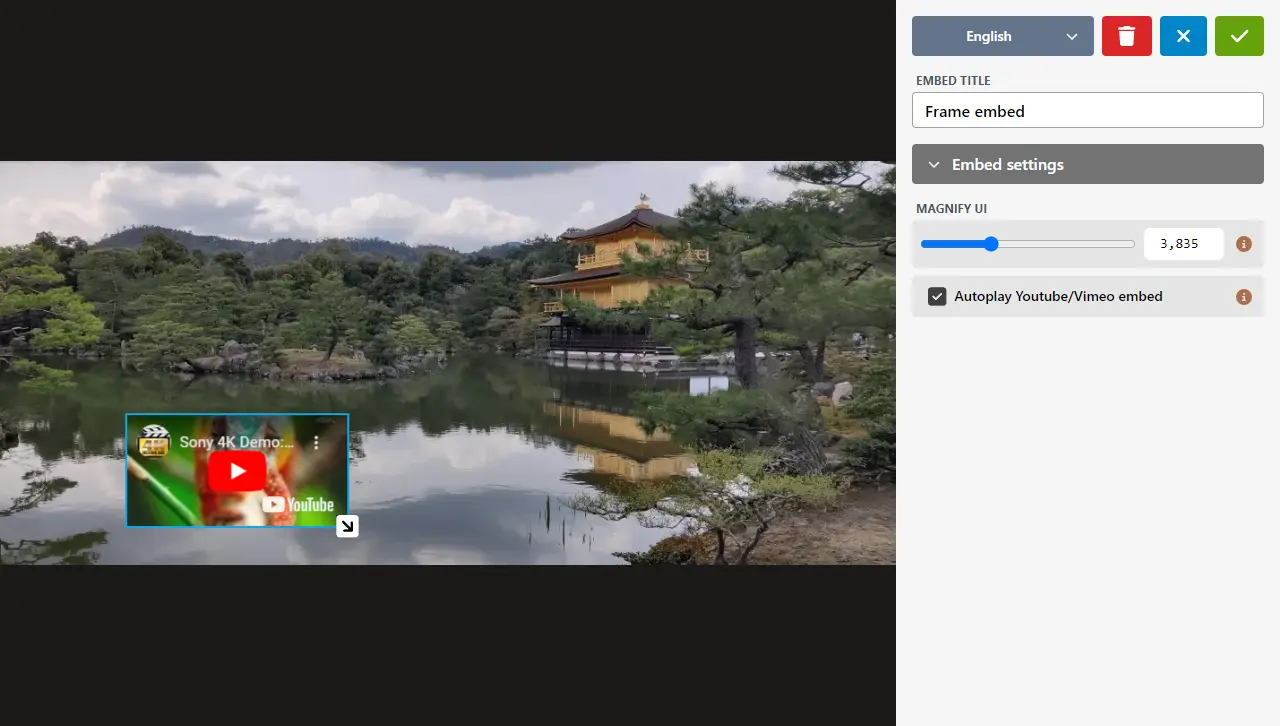
Click the "Web embed" button in the side panel to enter an embeddable URL, such as a YouTube-link. Once placed you can freely manipulate its placement in the image.
There are specific settings for this type of embed:
- Magnify UI: In case your original image is very large, and you want the Web Embed to take up a large part of the image, by default Micrio will display it at the resolution the size of the selected areas, which can get very large very quickly. In that case, the embedded website or video player will look very small. Use this setting to virtually magnify the Web Embed, so it will be lower resolution.
- Autoplay YouTube/Vimeo embed (only available for YouTube and Vimeo URLs): automatically start playing the video. If this is turned off, the user has to start it themselves.
Video Embeds Special feature
TIP
Native video embeds are an experimental feature in Micrio. Please contact us if you are interested in this.
In certain cases, for instance for transparent animations, Micrio supports the direct upload and embedding of video files.
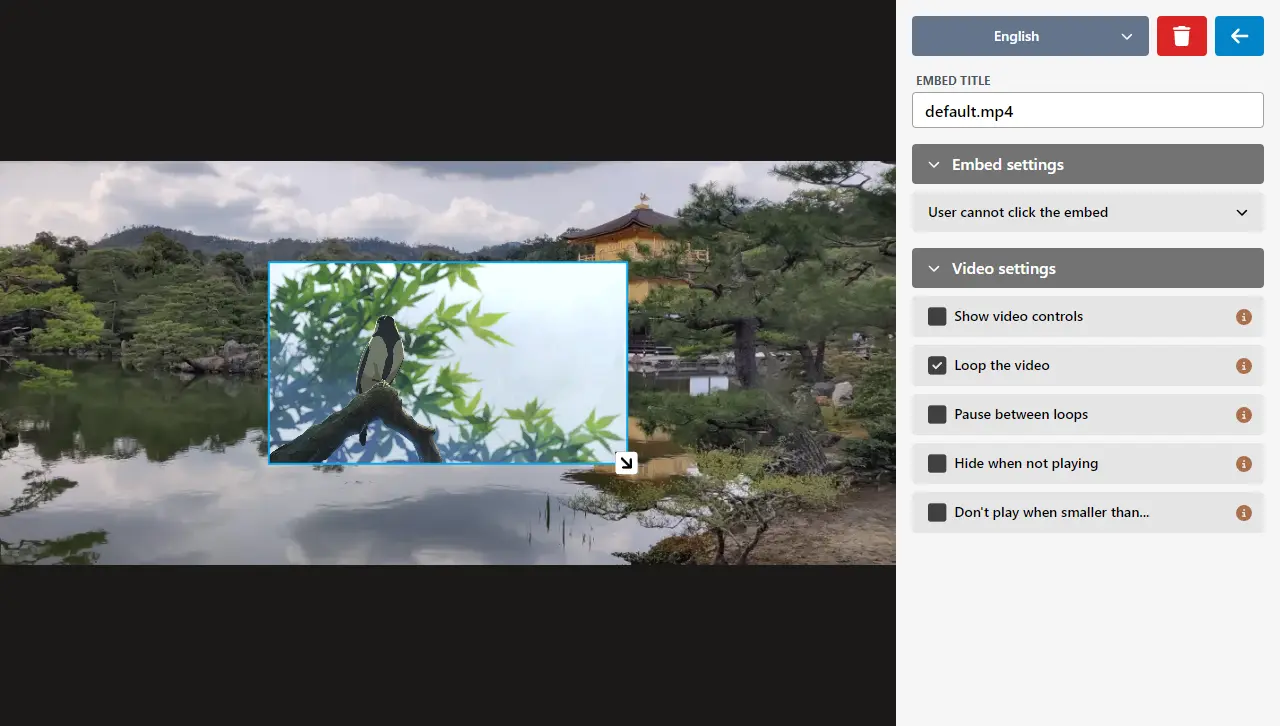
To add a video embed, click the "video" button (if available). Upload a video file, and place it in the image. Then you will have several settings available for video:
- Show video controls: Show a video controller bar with play, pause and a timeline inside the embed.
- Loop the video: The video will play looped, or just once
- Pause between loops: If you want the video to play at intervals (for instance, if it's a practical effect), you can set a duration in seconds here that the video will wait between loops.
- Hide when not playing: The video will not be shown at all when it's not playing (also when it is paused between loops).
- Don't play when smaller than...: If this video is of a (small) detail in your image, and you only want it to play when the user zooms in close enough to see it, use this option to set the relative scale of the video when it will be playing.
Transparent video
Video embeds also support transparent video, in .webm format. See this page for more information about it.
If you have uploaded a .webm video, you will be presented with an extra setting, allowing you to treat it as a transparent video file.
WARNING
Because the Apple Safari browser does not support transparent Webm videos, if you want this video to work in Safari, upload a correctly encoded transparent H265 MP4 version of the video.
You will be prompted to do this once you have set the video to transparent.
More info about how to do this, see this article.