Advanced uses
This page is about the Micrio dashboard version 2, which is outdated. Use the link below to navigate to the latest version.
By now, you might have noticed that there is a lot possible within the image editor.
Some options speak for themselves, when others perhaps are only a tiny button, but can offer a whole new dimension to storytelling.
This page details certain advanced features like that.
Linking images
You can link Micrio images to eachother using markers. This way, if the user opens a marker, you can open another Micrio image, and optionally allow the user to also return to the main image.
If you want to add a link within the image, you can use a marker. Do to this:
- Go to the editor, and click on the marker.
- In settings click at "Marker is micrio link", and select the Micrio image to link to
- Then hit publish, and you can check the functionality
- For added smoothness: Select "Don't Animate" in the Marker settings.
- Remove the Title of your Marker if you don't want a popup to show up on the second image.
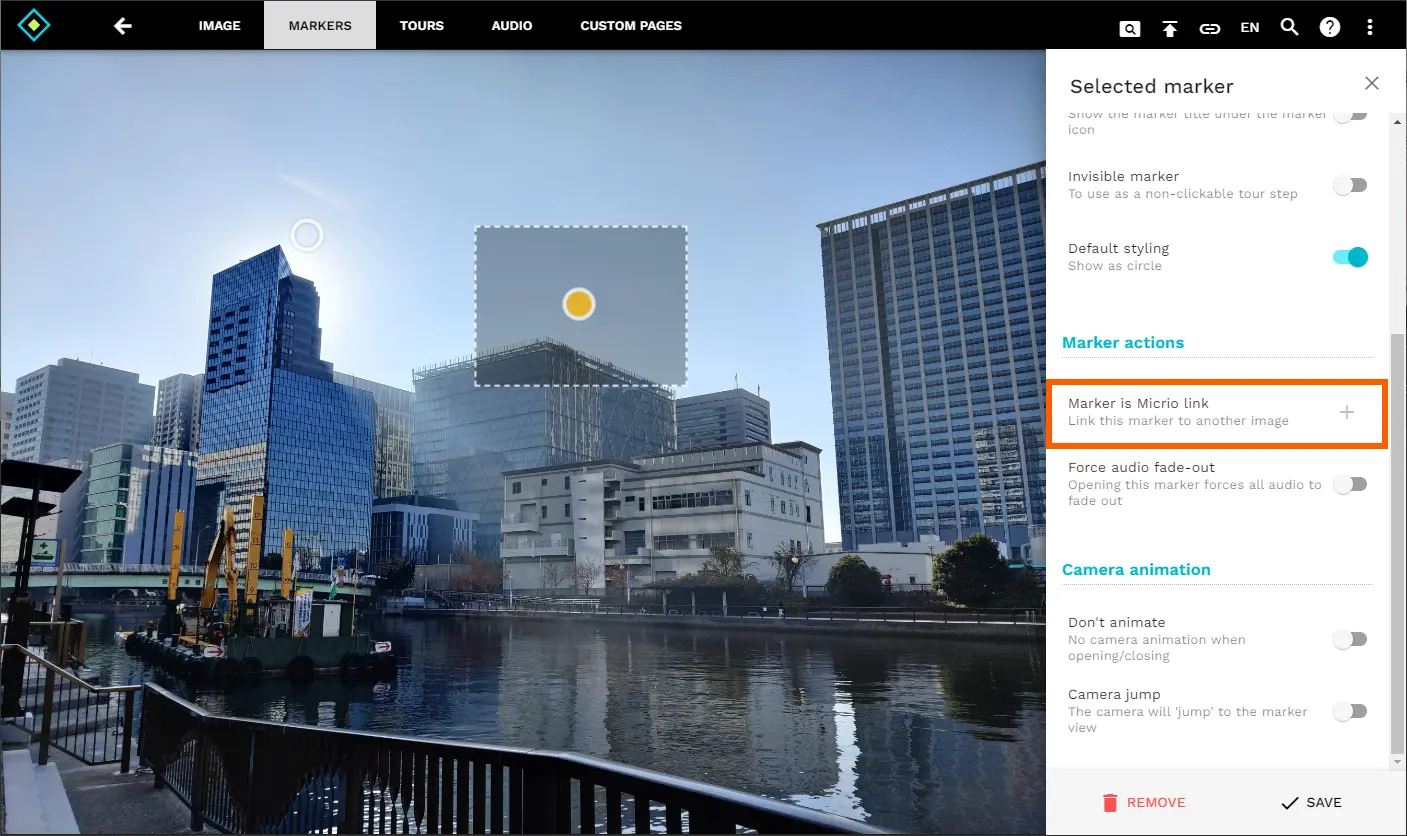
There are several ways to style the marker, in case you want it to look like an arrow for instance. You can
- Adjust the marker icon in the settings
- Add an arrow image to the "images within main image". and then go to settings and turn on "Embedded images are the marker"
- A developer can adjust the marker-image using CSS. For this it's also possible to turn off the "Default styling" in the Main tab for the marker.
See the related articles below on more information about customizing your markers.
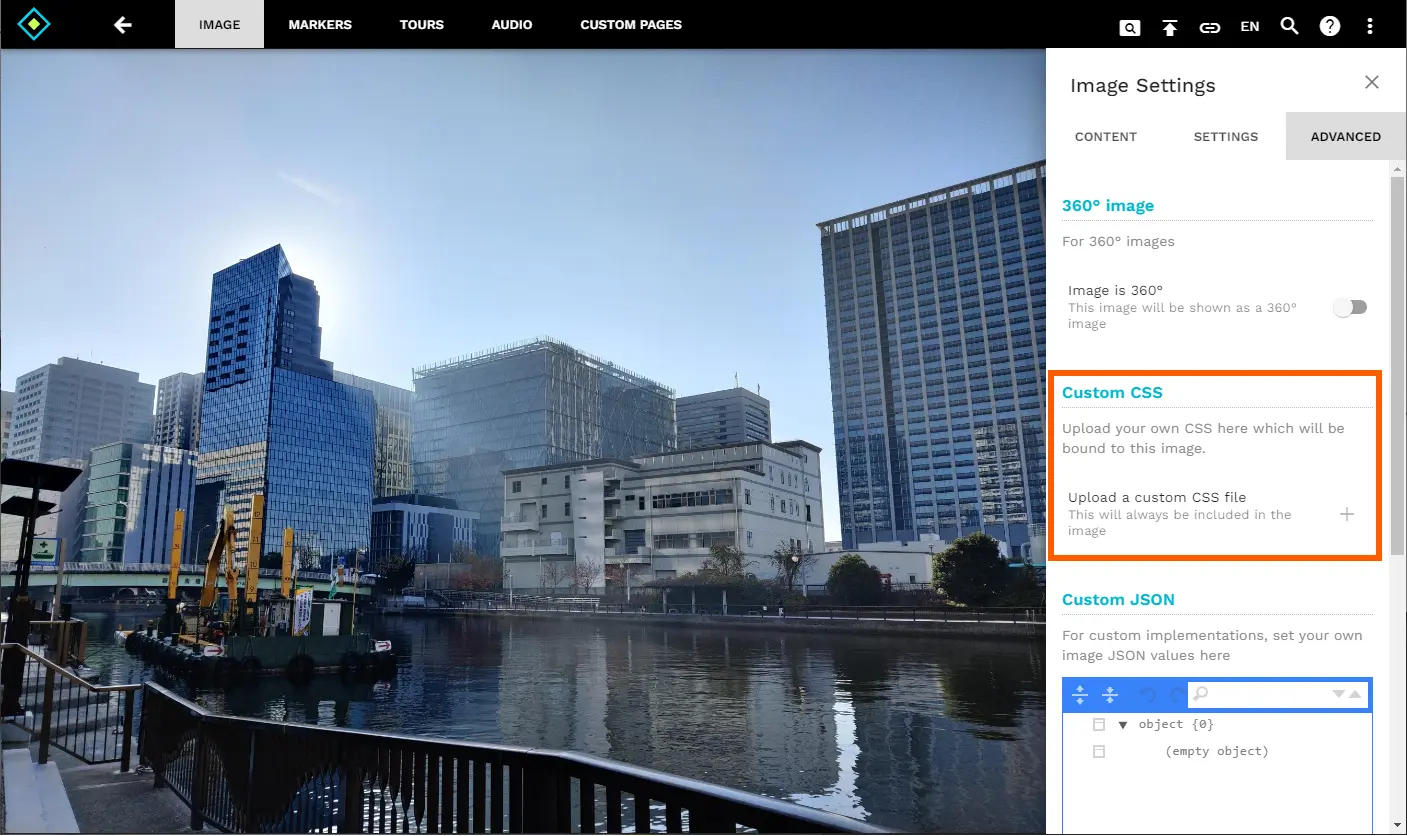
Uploading your own image-specific CSS file
To upload a CSS file to your image which will be automatically included inside the image, firstly open the image you want to upload the CSS file to. Then click “Image”, a tab to the right will open. In this section, open the “Advanced” tab you will see “Upload a custom CSS file”.
Split screen functionality Enterprise
INFO
This feature is available for Enterprise users only.
If you want to enrich your stories by showing a secondary image as a split screen display, follow these steps:
In the Micrio editor, select the marker that you want to hook split screen to
In the "Marker" tab, click the
+button next to the "Splitscreen linked image/marker" under "Marker actions":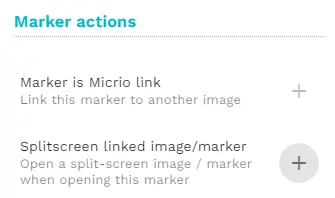
In the following panel, you have two options:
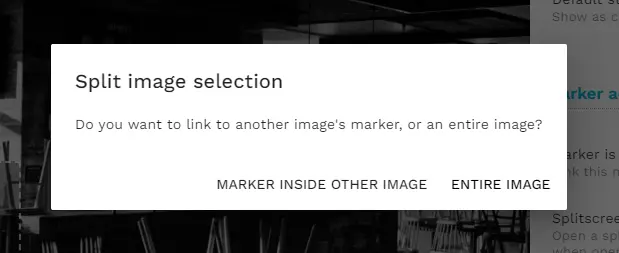
- Entire image: open a secondary image without any context, through which the user can navigate freely
- Marker inside other image: open an existing marker inside the secondary image. See the next section for some special cases here.
Select the secondary image, and optional marker, click on "Save" and you're ready to preview or publish the data.
Behavior
By default, when a marker in the primary image is opened that has a split screen link, once the marker is opened, the split screen image will be opened, and when the marker is closed, the split screen image will be removed.
There are a few special cases:
If you have selected a marker to open in the secondary image, but if you only want to focus on that marker's viewport, ie. an image detail, set the marker options for the marker in the secondary image to have no popup (Popup content tab), and invisible marker (under the Marker tab):
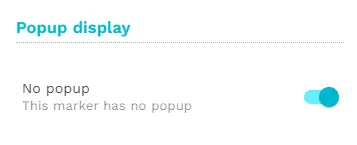

This results in the secondary image only viewing the marker's viewport.
If you do not do this, and the marker in the secondary image is set to have a marker popup, the marker popup in the primary image will be closed until the popup in the secondary image is closed.
If you have two different markers that link to the same secondary image, switching between them keeps the secondary image open, allowing for a smooth visual experience.